Quick Start
From a movie file to a checked cut list in seven steps. Grab a clip and follow along.
Before you start
Install & activate CutDetectorPro first. You can follow steps 1 to 6 without a license key, but exporting (step 7) needs one.
1. Import a clip
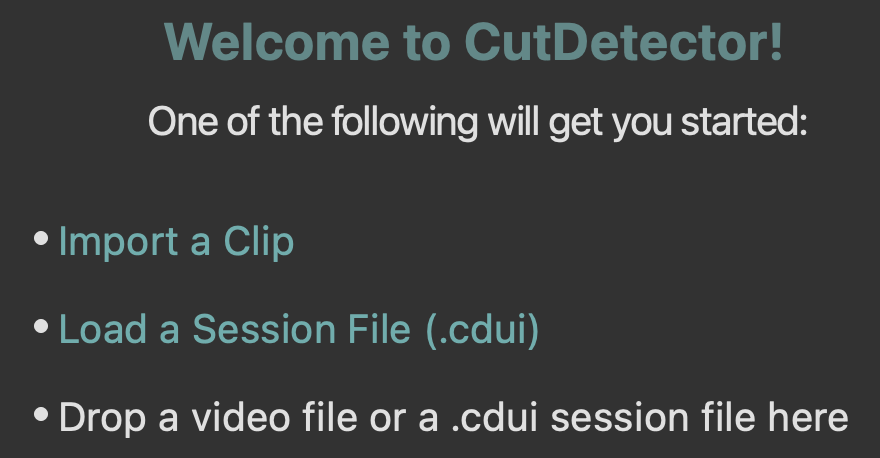
Drag a video file into the window, or click Import a Clip on the landing page. (More ways to import are listed in Importing.)
2. Detect cuts
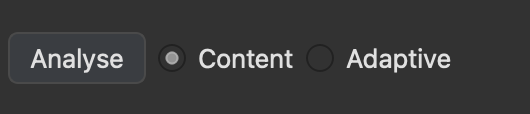
Click Analyse in the lower left corner, or just press Enter. CutDetectorPro looks at every frame and draws a spike wherever the picture changes.
Only need part of the clip?
Press I and O before analysing to set an in and an out point. Only that sub-range is analysed, which is faster for long clips.
More about the two detectors in Detecting Cuts.
3. Set the threshold
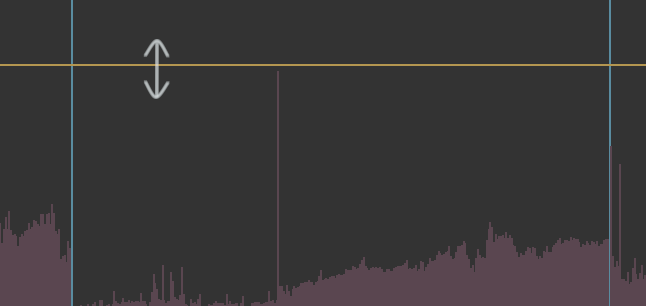
Every spike that crosses the yellow threshold line becomes a cut and is added to the Shots Table. Drag the line up and down until the cut count looks right. You can change it again at any time.
4. Check the cut points
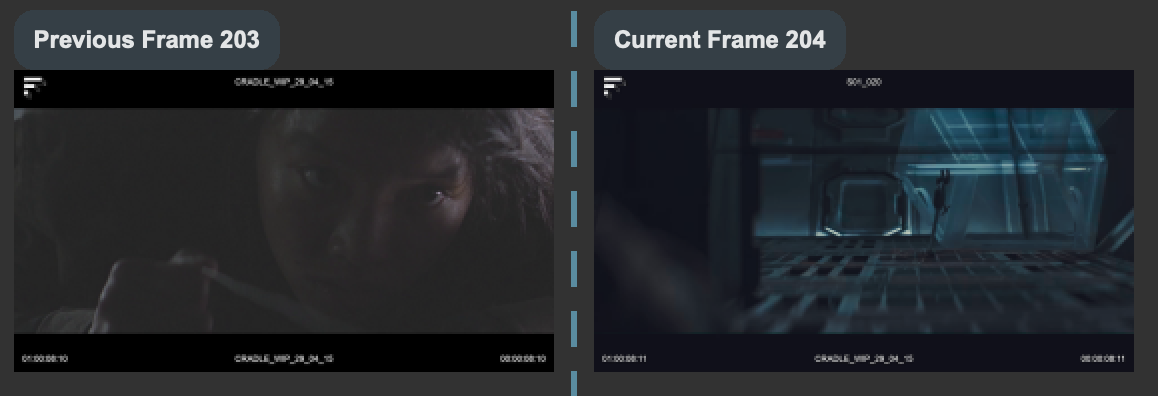
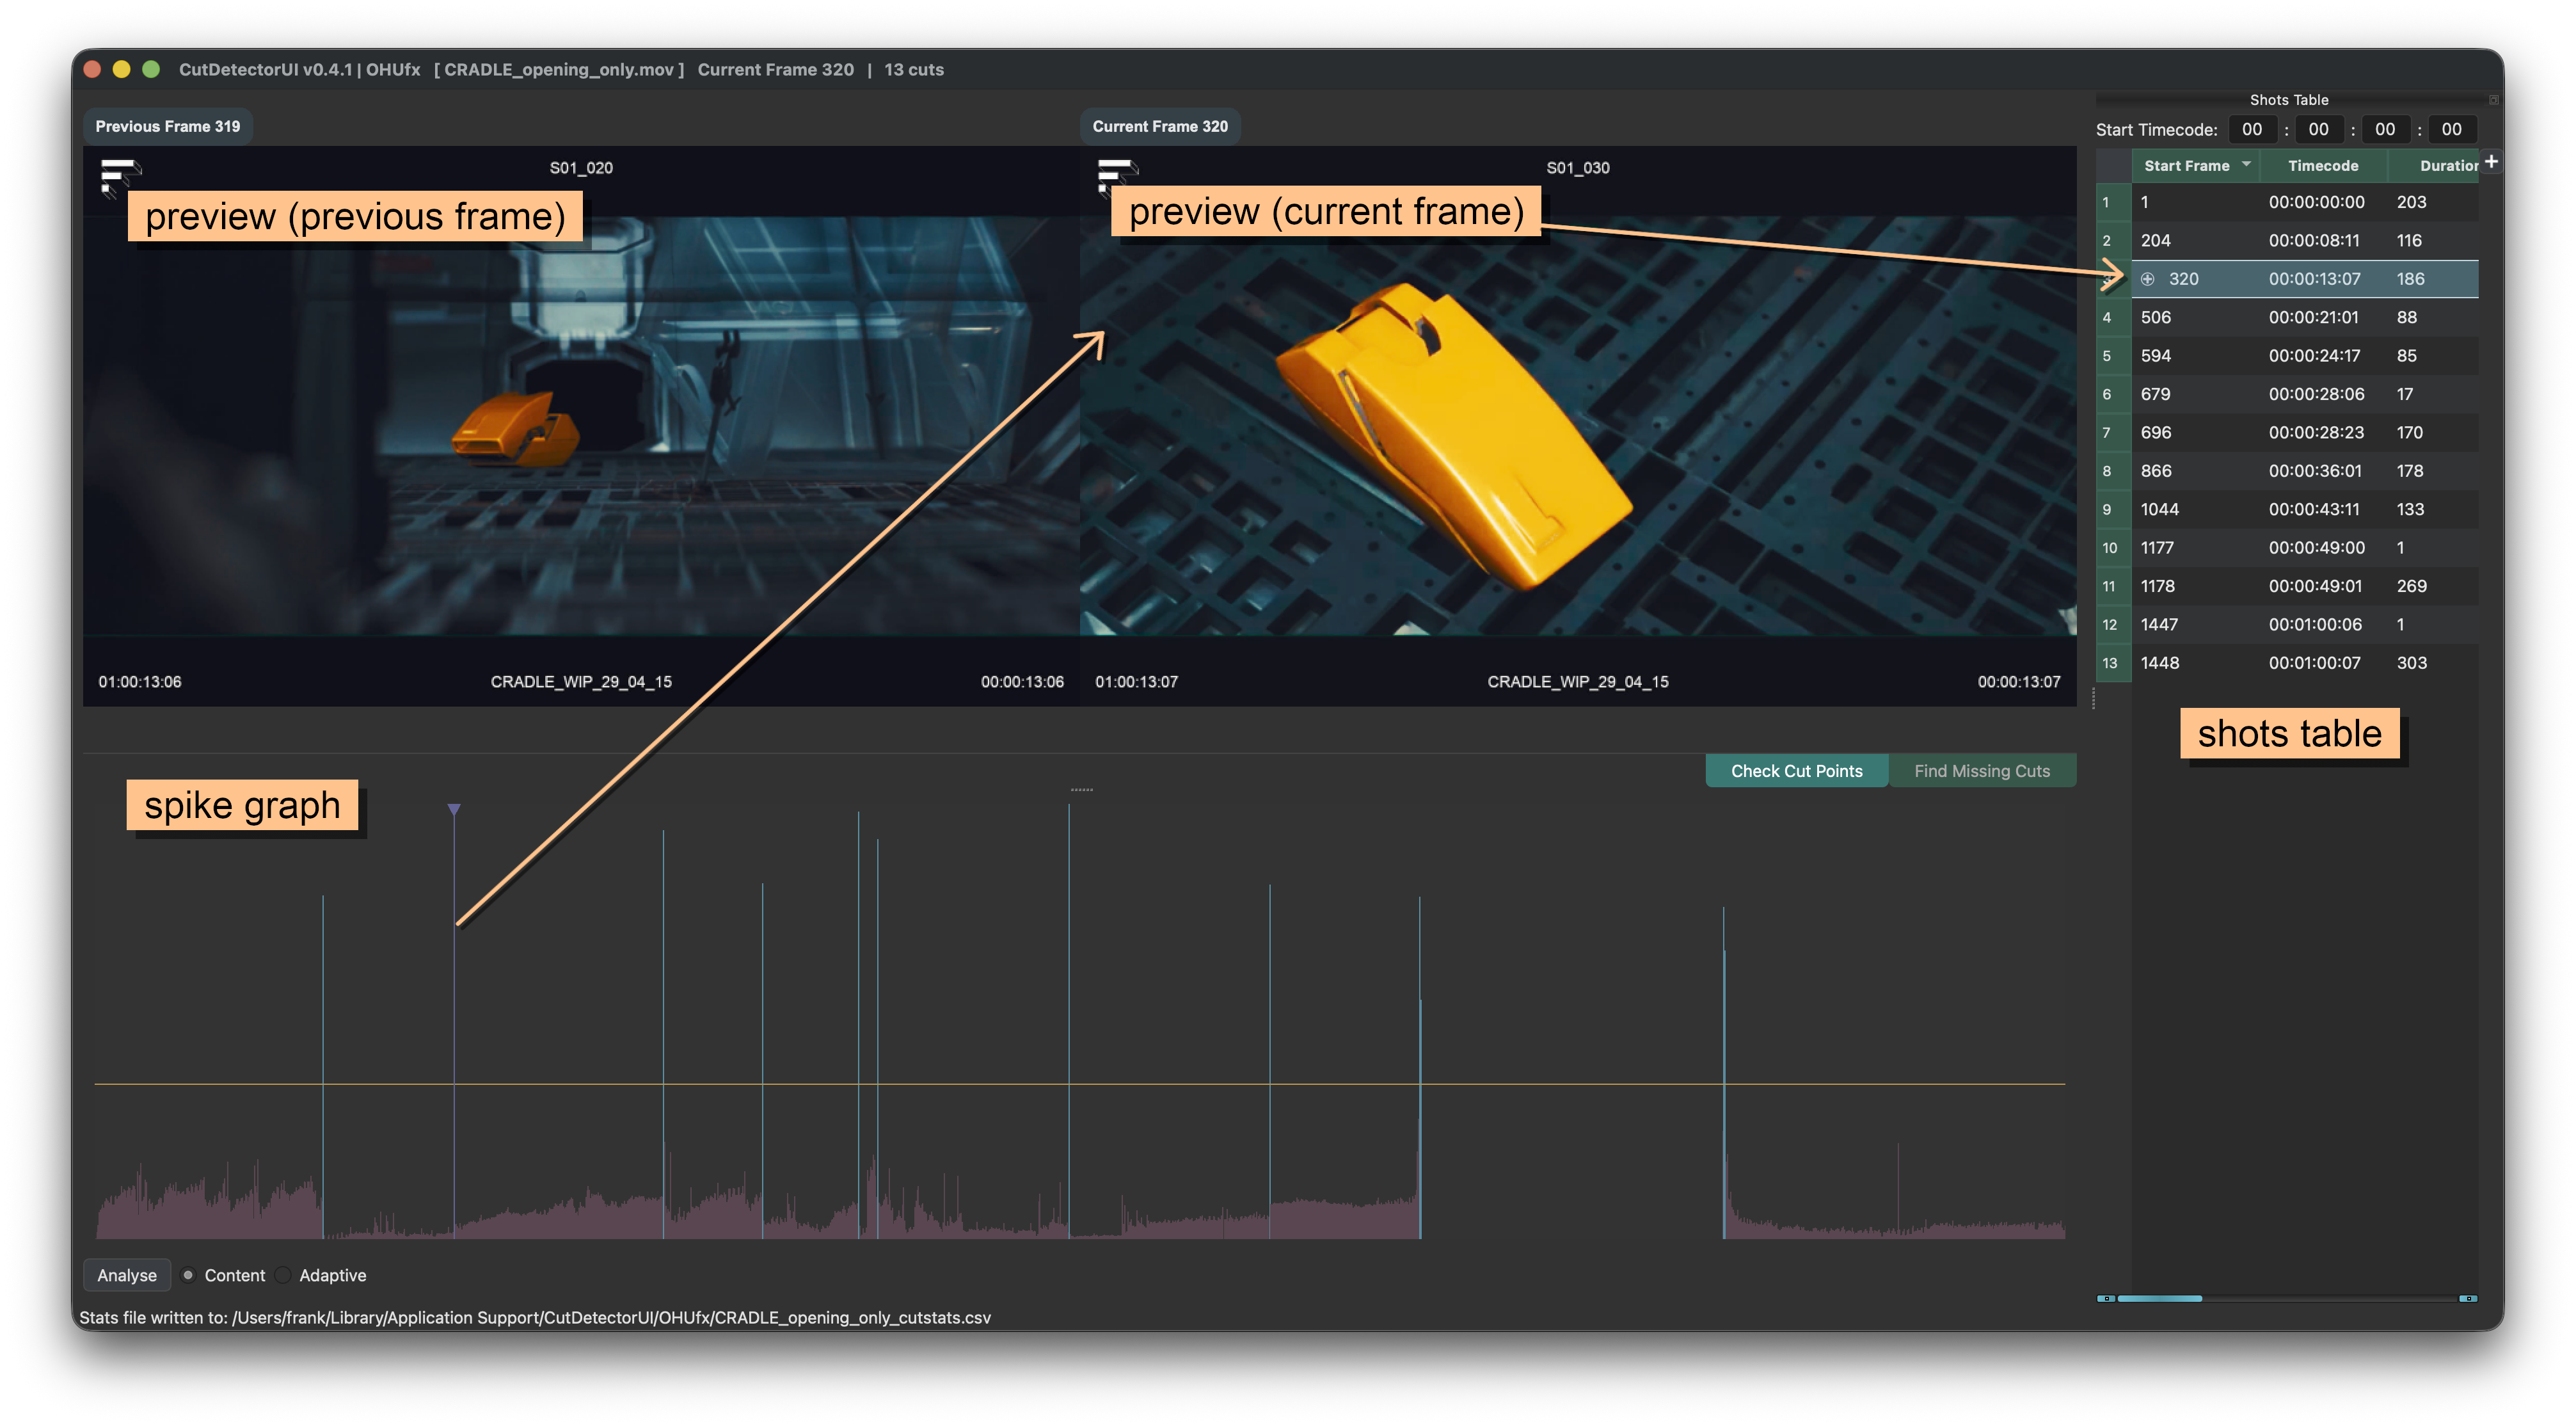
Press Page Down to jump from cut to cut. The left viewer shows the frame before the cut and the right one the frame at the cut, so they should show two different shots.
If they look the same, it was a false positive. Press Del or Backspace to remove it.
5. Find the missing cuts
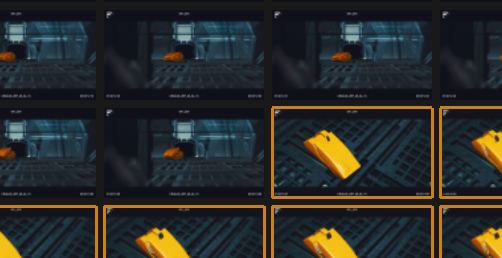
Click Find Missing Cuts (or press `) to switch to the Contact Sheet. It shows every frame of the current shot, so a missed cut is easy to spot.
Click the first frame of the new shot and press C to cut. Use the sliders to change the thumbnail size and brightness.
6. Extract text (optional)
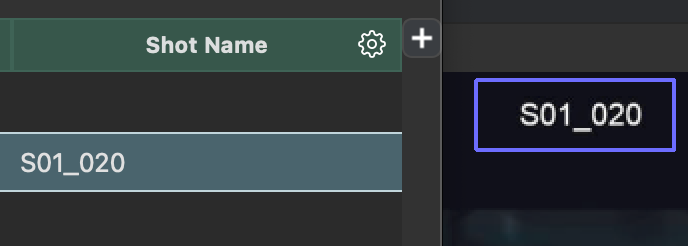
Got a burn-in with shot names, timecodes or notes? In Preview Mode, hold Ctrl (Cmd on macOS) and drag a box around the text. Then click the icon in the header of the Shots Table column that should receive it.
Tesseract, the text engine, comes with the app on most systems. See Text Extraction for the details.
7. Export
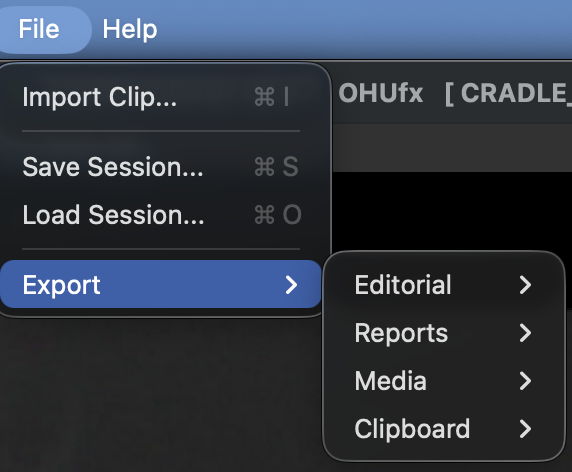
Open the File menu and choose a Quick Export, or open the Export Manager to write several formats at once. See Exporting for all the options.
Press Ctrl+S (Cmd+S on macOS) to save a .cdui project with your analysis and every manual edit.
The two modes in a nutshell
-
Preview Mode
Best for checking the cuts you have. Jump between them with Page Up and Page Down and make sure the two viewers show different shots.
-
Contact Sheet Mode
Best for finding the cuts you missed. Scan all frames of a shot, pick the first frame of the new one and press C.
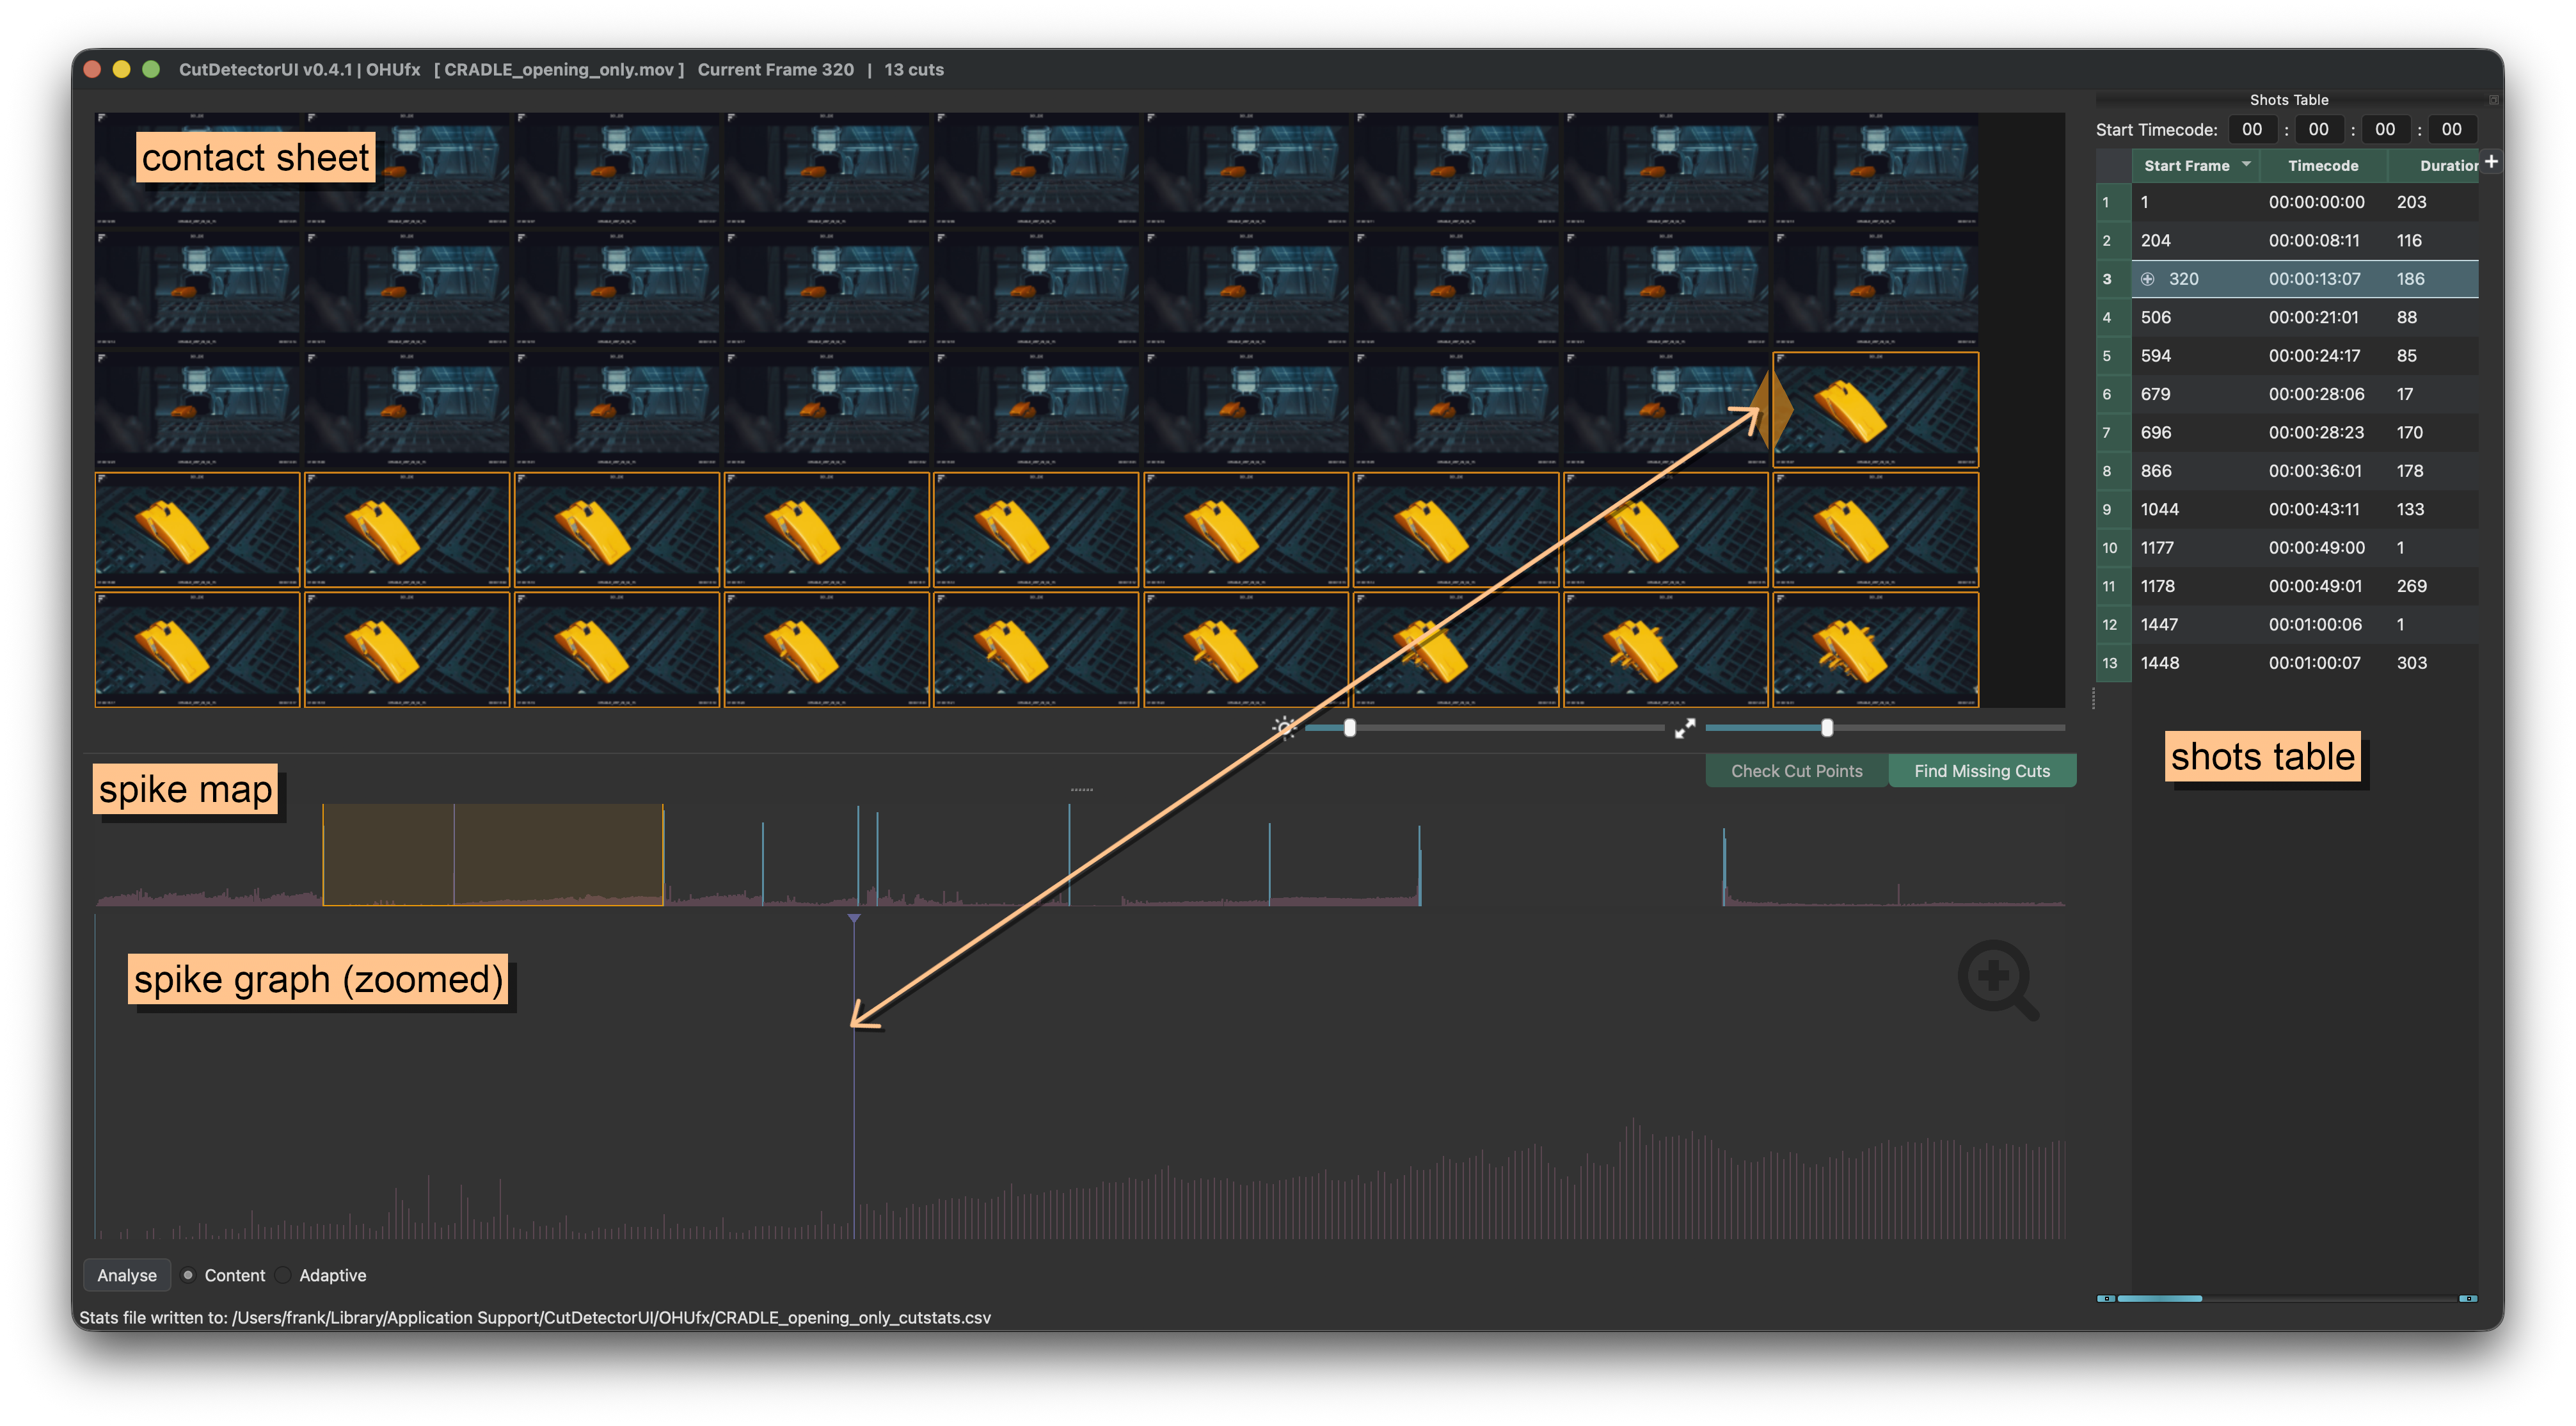
Both modes are the recommended way to edit results, because you see exactly where each cut happens. You can also select spikes in the Spike Graph and add or remove them, but the frames aren't visible in that workflow.
Where to go next
-
Clean up your text
Search & replace and split columns so shot names match your pipeline.
-
Work faster
Every keyboard shortcut in one place.
-
Fix things by hand
Every way to add and remove cuts.
-
Use it in Hiero
Launch straight from a bin item or the timeline.