Spike Graph
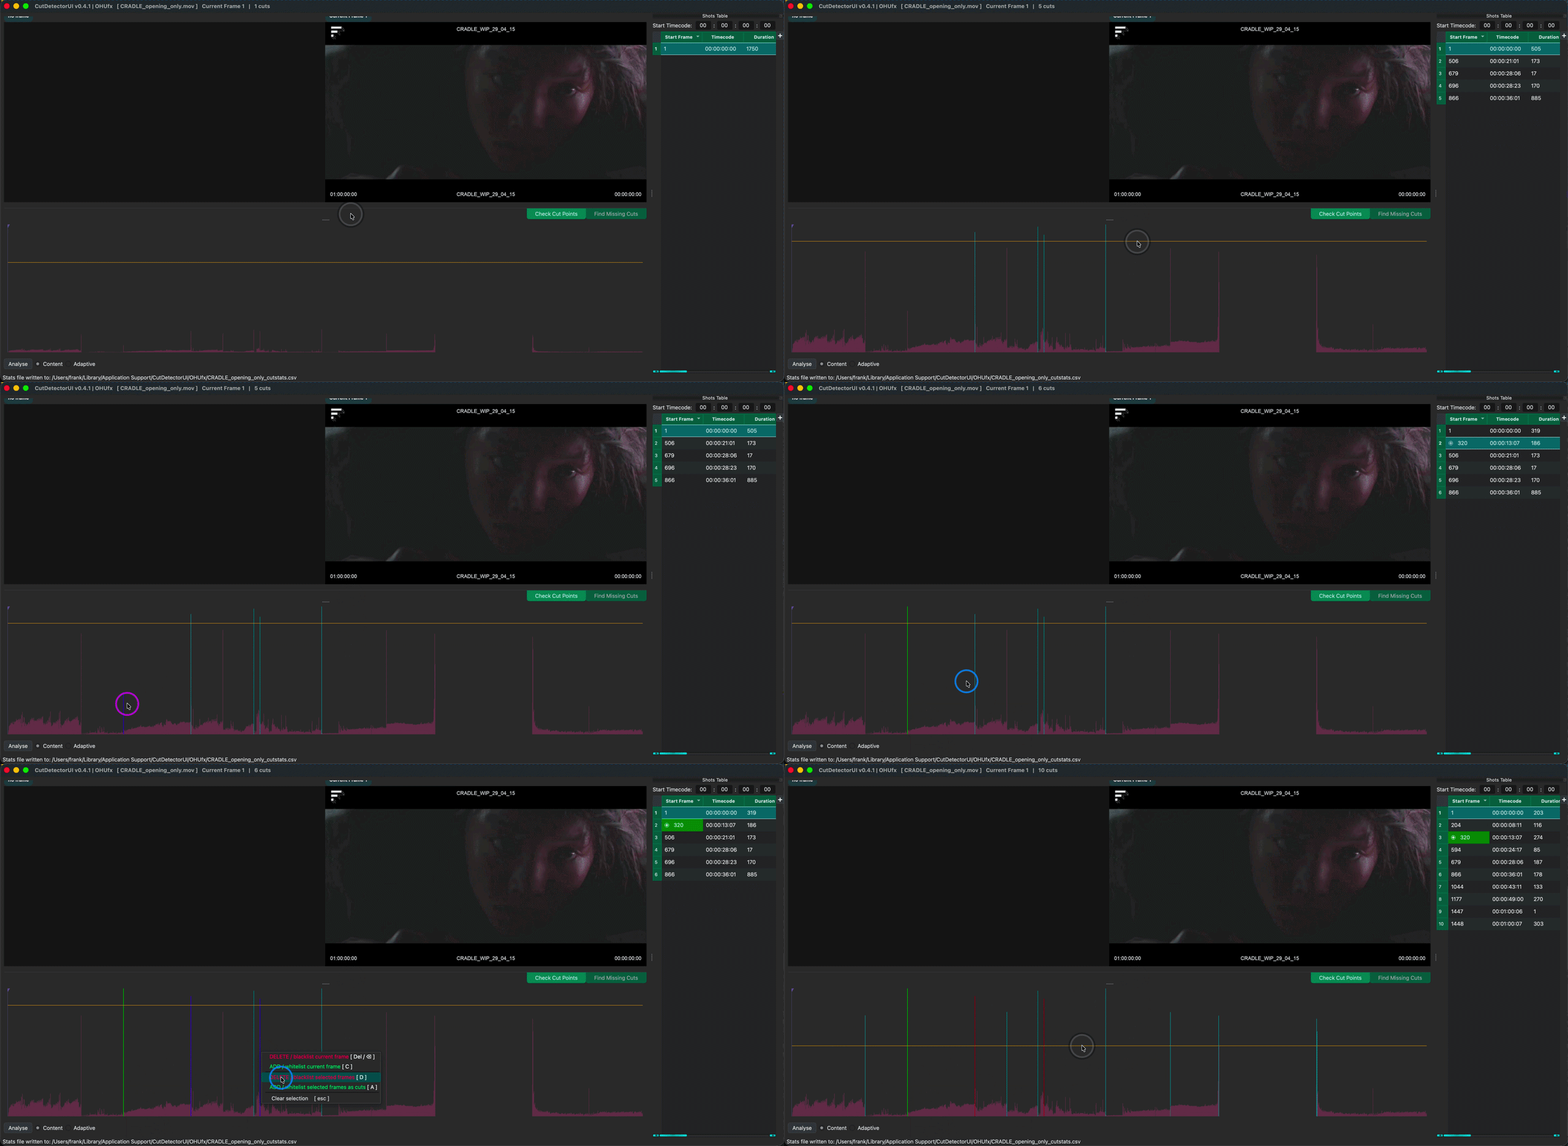
Reading the graph
Once the analysis is done, every frame of the clip is a spike. The taller the spike, the more that frame differs from the one before it. Tall spikes are usually cuts.
- Click anywhere in the graph to move the playhead. The frame under it shows in the right viewer, the previous frame in the left one.
- The Shots Table follows the playhead: it always selects the shot the playhead is on.
- Cuts are drawn in teal, manual additions in bright green and manual deletions in red.
Keys for moving around
- Left / Right move the playhead one frame at a time (Preview Mode only). After analysis they stay inside the analysed sub-range.
- Home / End jump straight to the first / last frame, same sub-range limit as above.
- Page Up / Page Down and Up / Down jump between cuts (table rows). On the first or last shot nothing happens.
- Alt + click & drag paint-selects spikes for editing.
All of them are also on the Shortcuts page.
Zooming in
Use the zoom slider below the graph (next to the magnifying-glass icon) to see more detail. Zoom is centred on the current frame, so the playhead stays put as the window grows or shrinks around it.
- Drag the slider to zoom in and out. Click the icon, or ctrl+click the slider, to reset.
- Scroll over the graph to zoom with the mouse wheel, same centring as the slider.
- Middle-click and drag to draw a region and zoom straight to it. A plain middle-click with no drag resets the zoom, same as the icon.
The icon tints orange while the graph is zoomed, same as the brightness/scale icons in the Contact Sheet.
The threshold
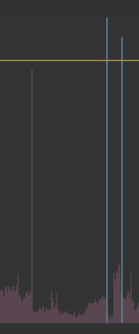
The yellow threshold line decides which spikes count as cuts. Every spike above it turns teal and gets a row in the Shots Table. Drag the line up and down until the number of cuts looks right. Nothing is lost when you move it, and your manual edits are kept.
Editing in the graph
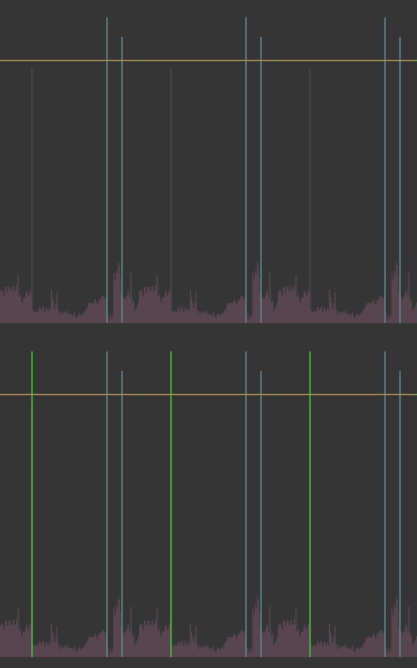
Added cuts are whitelisted: they stay cuts no matter where the threshold is. They're drawn as bright green spikes.
- Click the spike where the new shot starts (use the arrow keys to step frame by frame), then press C (as in Cut).
- Or hold Alt and click & drag over one or more spikes, then press A (as in Add).
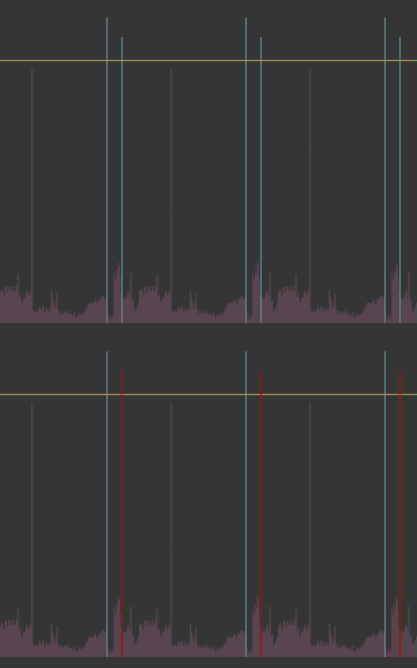
Removed cuts are blacklisted: they never come back, whatever you do with the threshold. They're drawn as bright red spikes.
- Move to the cut you don't want (use Page Up / Page Down to go from cut to cut), then press Del or Backspace.
- Or hold Alt and click & drag over one or more spikes, then press D (as in Delete).
Missing a cut?
The best way to find and add missing cuts is the Contact Sheet: click Find Missing Cuts or press `. You see the actual frames, not just spikes.